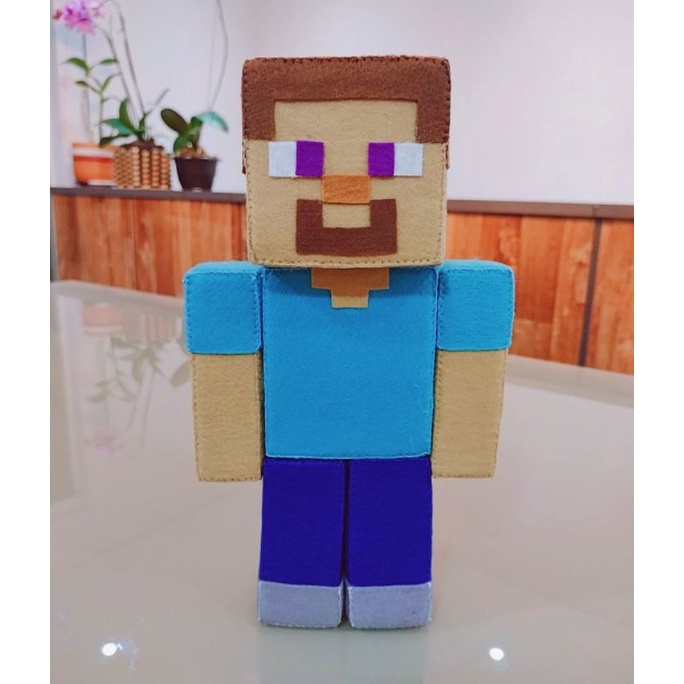
Boneco Minecraft Steve

Crafting a detailed boneco Minecraft Steve is a rewarding project that lets you bring one of gaming’s most iconic characters into the real world with thread and stuffing. Whether you are a seasoned crafter or a curious beginner, creating a Minecraft Steve plush or figurine is a fun way to express your passion for the game.
Design and proportions of a Minecraft Steve doll
The first thing to notice when you translate the blocky Minecraft Steve into a physical boneco is how the game’s pixel art becomes surprisingly dimensional in real life. To keep the look instantly recognizable, pay attention to the signature proportions: a cubic head, a slightly smaller torso, and blocky limbs that are roughly the same width as the head. Many DIY patterns and 3D printing files exaggerate these features a little to make the piece feel friendly and huggable while still honoring the source design.
When you sketch or print your template, think about how color blocks will align across seams so the final boneco Minecraft Steve looks like it stepped straight out of the game. Some makers choose to round edges just a bit for comfort, while others keep everything sharp to emphasize the pixel aesthetic. Either way, planning these details early saves time later and helps your project stand out among other Minecraft crafts.
Materials and tools you will need
Gathering the right supplies makes the process smoother and the result more durable, whether you are sewing a soft plush or building a rigid figurine. For a fabric boneco Minecraft Steve, common choices include felt, fleece, or cotton in the classic cyan, brown, and gray tones, plus polyester stuffing and a blunt sewing needle. If you prefer a more structured model, you might use polymer clay, craft foam, or even 3D printed parts, each requiring its own set of paints, adhesives, and sanding tools.
- Base fabrics or modeling clay in the main colors of Steve: cyan, brown, gray, and black.
- Stuffing, polyester fiberfill, or a lightweight armature for structure.
- Cutting tools, fabric markers, pins, and a reliable sewing kit or sculpting tools.
- Acrylic paints, fine brushes, and sealant if you want extra durability for display.
Step by step construction process
Starting with a clear pattern is the easiest way to avoid mismatched blocks, so look for a trusted boneco Minecraft Steve pattern online or draft your own on graph paper. Trace each piece carefully, remembering that the head usually needs six panels, while the body and limbs require fewer but larger shapes. Take your time cutting, and use temporary fabric markers or pins to keep pieces aligned before committing to stitches or clay joins.
During assembly, build in small details last, such as the pixels for sleeves, the notch for the neck, and the subtle differences between the front and back of the torso. If you are making a soft plush, leave a small opening for stuffing, add firm but even filling, then close the gap with neat hidden stitching. For a figurine, test the fit of arms and legs before finalizing paint so that joints look stable and true to the blocky charm of Minecraft Steve.
Adding personality with colors and details
The charm of a Minecraft Steve doll often comes from clean color blocks and expressive features, so choosing the right shades of cyan, brown, and gray is essential. Instead of relying on generic craft store tones, try to match the in-game palette by checking screenshots or using color picker tools, then test fabrics or paints in natural light. A slightly lighter or darker version of Steve can also help your creation stand out while remaining faithful to the original character design.
Details like the five by three pixel face, the rectangular hair shape, and the simple smile can make all the difference between a generic cube figure and an unmistakable boneco Minecraft Steve. Embroidering or painting eyes, a small mouth, and subtle eyebrow shading gives the doll personality without breaking the pixel aesthetic. Consider adding accessories, such as a tiny sword or pickaxe, to lean into the adventurous spirit of the game.
Display ideas and creative variations
Once your boneco Minecraft Steve is complete, think about how you want to showcase it in your space. A clear shelf stand, a padded diorama, or a hanging display can all work, depending on whether you prefer a minimalist look or a more dynamic scene. Grouping your creation with other Minecraft themed items, like Creeper plushies or pixel art prints, turns a single craft into a cohesive fan corner that celebrates the game’s iconic style.

If you enjoy the process, you can explore variations such as a nether themed Steve, an end city guardian version, or even a jointed action figure for poseability. Crafters on different skill levels can adapt the same core idea to suit their abilities, from simple no sew plushes to advanced clay builds with realistic shading. Each version keeps the spirit of Minecraft Steve while reflecting your personal creativity and attention to detail.
Conclusion
Making a boneco Minecraft Steve is a hands on way to carry the spirit of the game into your everyday environment, whether you end up with a soft plush, a detailed figurine, or a hybrid creation. By focusing on accurate proportions, thoughtful color choices, and neat finishing touches, you capture the essence of Steve in a form that can be displayed, gifted, or enjoyed during solo crafting sessions. With patience and a bit of practice, your own Minecraft Steve doll can become a standout piece that celebrates one of gaming’s most beloved worlds.
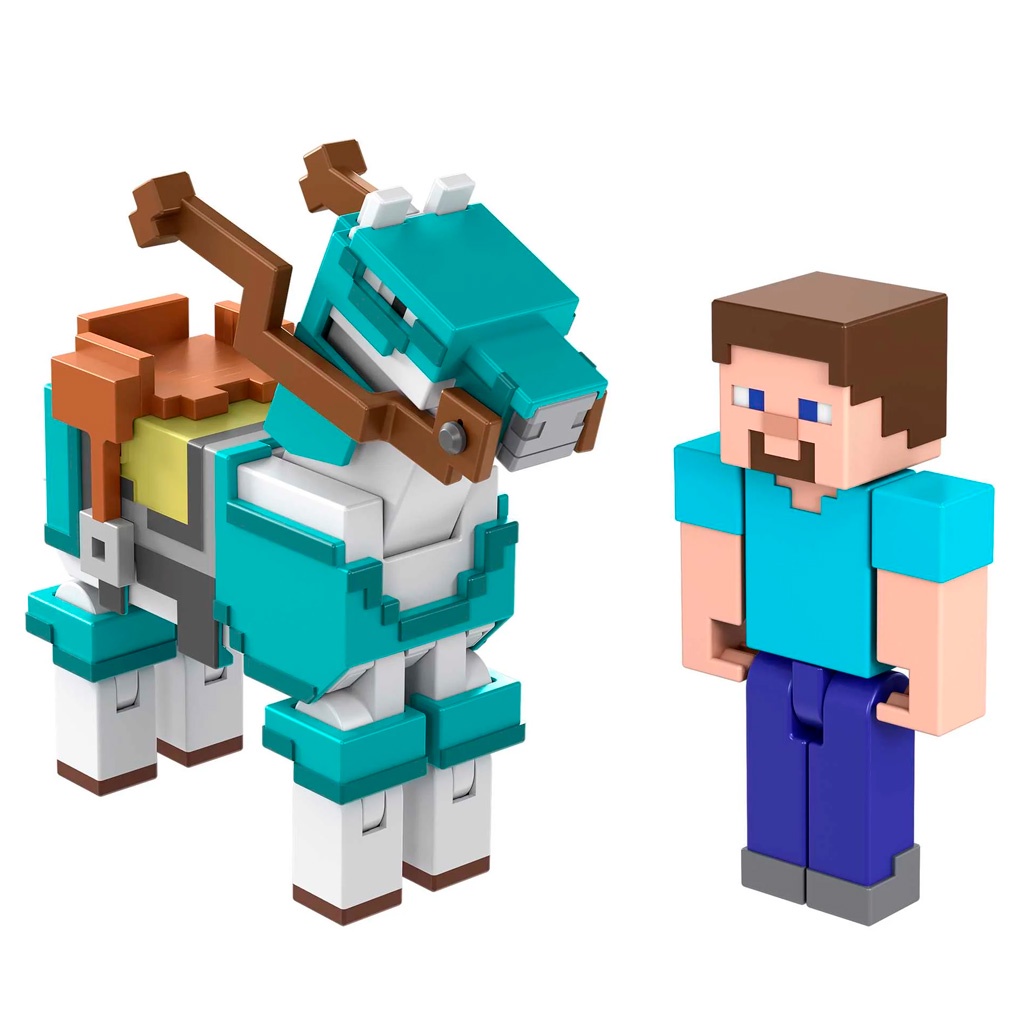
Minecraft Steve Figure Unboxing Mattel #minecraft #minecraftmovie #unboxing #yt #shorts #short
No description available.
